Proper installation of inertia dynamometers in workshops is crucial to secure accurate and reliable test results.
This requires careful planning and adherence to specific guidelines to guarantee a safe and efficient testing environment. Pre-installation considerations include reviewing safety standards, selecting and calibrating load cells and strain gauges, and verifying brake system compatibility.
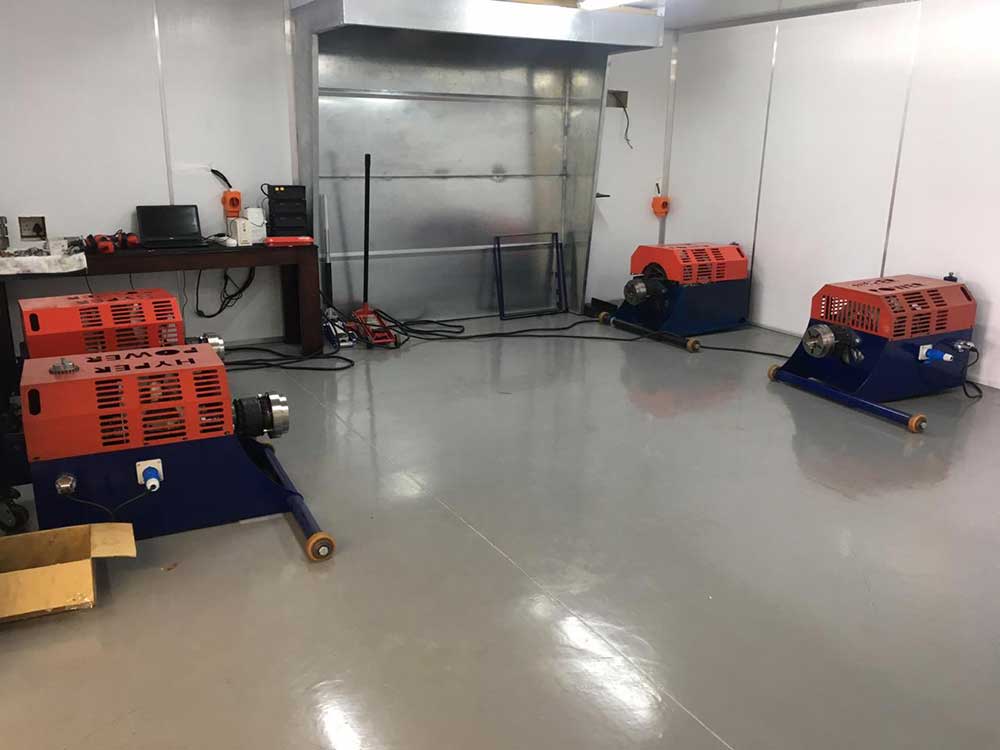
Dynamometers should be placed on a sturdy, level, and vibration-free surface, with proper electrical connection and safety protocols in place.
Environmental control and noise reduction measures should also be implemented, followed by post-installation testing and calibration to guarantee precise measurements.
Attention to these details will reveal the full potential of inertia dynamometers in workshop settings.
Pre-Installation Considerations
When preparing to install an inertia dynamometer, careful consideration of several factors is crucial to guarantee a successful and accurate testing experience.
During the pre-installation phase, reviewing and adhering to safety standards is necessary to certify a safe working environment. This includes verifying the workshop is well-ventilated, free from obstructions, and has a stable power supply.
The load cell and strain gauges must be carefully selected and calibrated to meet the specific testing requirements of the dynamometer test. The brake system must be compatible with the inertia dynamometer, and the dynamometer's measure must be accurately calibrated to record the load applied during the test.
Additionally, the workshop should have a clear comprehension of the testing requirements and the type of dynamometer test to be conducted. The careful consideration of these factors certifies a smooth and successful installation process, resulting in accurate and reliable test results.
Dynamometer Placement and Orientation
Proper dynamometer placement and orientation are critical aspects of guaranteeing accurate and reliable test results.
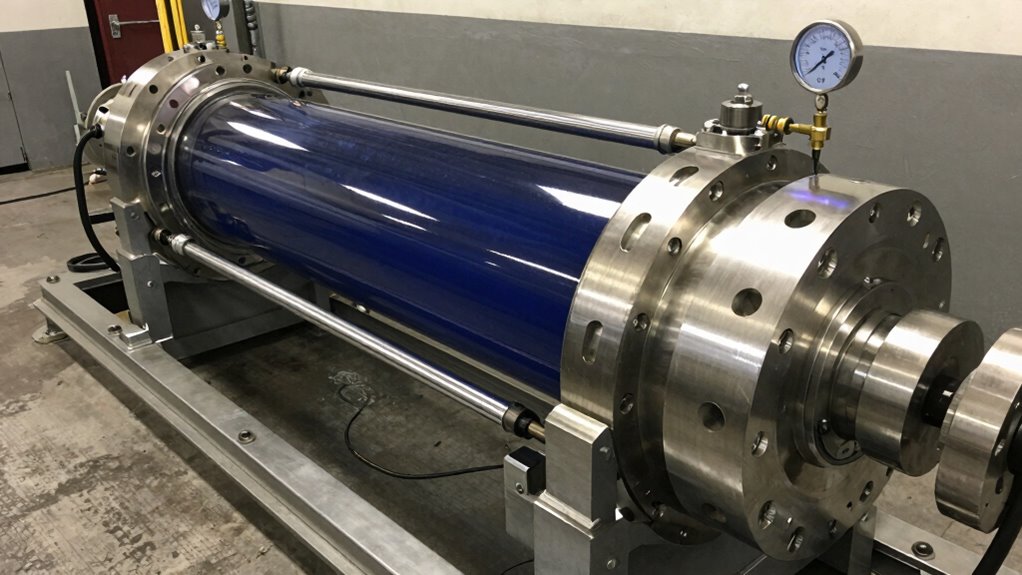
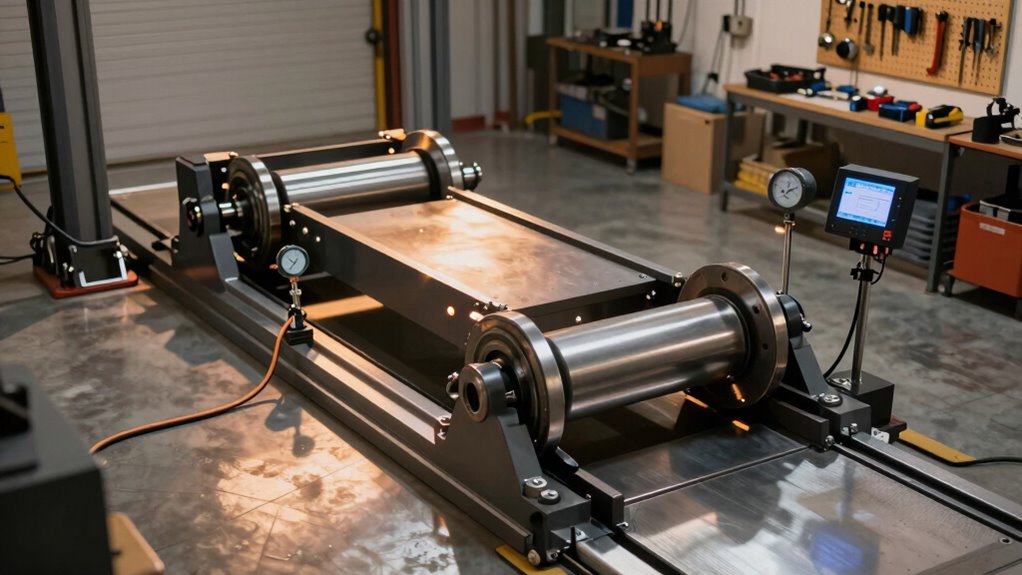
Inertia dynamometers should be positioned on a sturdy, level, and vibration-free surface to prevent damage to the device and ensure accurate measurements.
The dynamometer's orientation should allow for easy accessibility and visibility of the control panel, data acquisition system, and sensors during testing.
A minimum clearance of 1.5 to 2 times the width of the dynamometer is recommended around the device to promote airflow, prevent overheating, and enable easy maintenance.
The dynamometer should be installed away from direct sunlight, moisture, and extreme temperatures to prevent environmental interference with the testing process.
The orientation of the dynamometer should consider the direction of airflow and the location of nearby obstacles to prevent turbulence and ensure accurate measurements.
Workshops can guarantee that their inertia dynamometers operate efficiently and provide reliable test results if these guidelines are followed.
Electrical Connection and Safety
Three critical aspects of inertia dynamometer operation are electrical connection, safety, and environmental considerations.
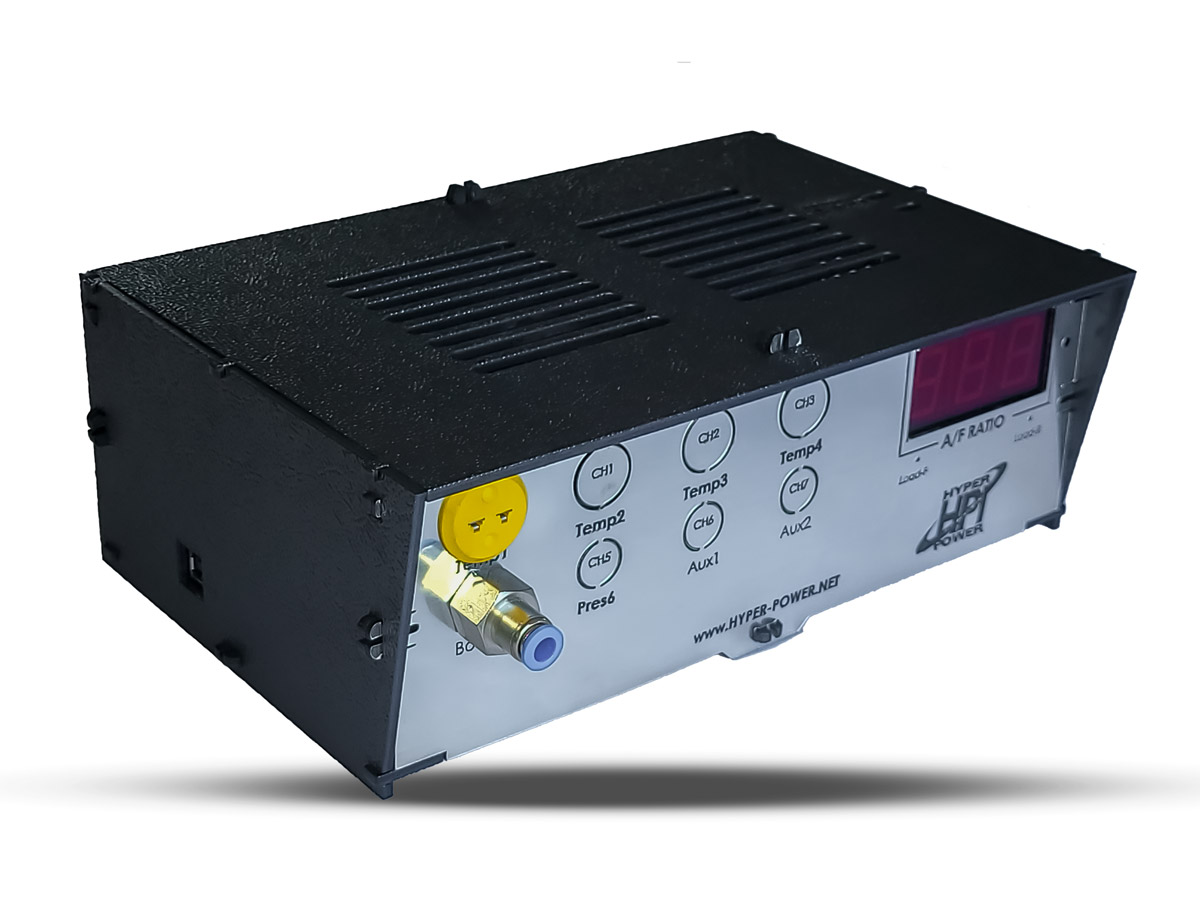
A secure and stable electrical connection is essential as it enables the transmission of accurate and reliable data, guaranteeing real-time data acquisition and allowing the operator to monitor the absorbed power and load control.
This accurate data is indispensable for precise testing and calibration of the dynamometers.
When installing inertia dynamometers, safety is a key consideration.
The electrical signal transmitted from the dynamometer must be properly insulated and protected to prevent electrical shock or other hazards.
Operators must be aware of the potential risks associated with the dynamometer's operation and take necessary precautions to safeguard a safe working environment.
Proper electrical connection and safety protocols are imperative to guarantee the reliable operation of inertia dynamometers.
Following established guidelines and best practices enables operators to conduct tests confidently and acquire accurate data, ultimately leading to more efficient and effective workshop operations.
Environmental Control and Noise Reduction
Operating within a workshop environment, inertia dynamometers require a controlled atmosphere to ensure accurate and reliable test results.
The dynamometer should be installed in an area with a temperature range of 20°C to 30°C (68°F to 86°F), which is necessary for guaranteeing the accuracy and reliability of test results.
To minimize operator fatigue and distractions, noise reduction measures are essential.
Sound-absorbing materials and acoustic enclosures can substantially reduce noise levels. A relative humidity of 40% to 60% prevents moisture buildup and guarantees reliable operation of the dynamometer's electronic components.
Vibration isolation systems can be implemented to minimise the effects of floor vibrations on the dynamometer's accuracy and stability.
A minimum distance of 1.5 metres (4.9 feet) should be maintained between the dynamometer and any surrounding walls or obstacles to guarantee proper airflow and heat dissipation.
Controlling these environmental factors enables workshops to create an optimal environment for their inertia dynamometers to operate efficiently and produce reliable test results.
Post-Installation Testing and Calibration
After establishing a controlled environment for optimal operation, attention turns to verifying the accuracy and performance of the inertia dynamometer.
Post-installation testing and calibration are vital steps in guaranteeing reliable and precise measurements. This involves running a series of tests, including no-load tests, friction tests, and load tests, to validate the dynamometer's performance.
The importance of post-installation testing and calibration lies in the following key aspects:
- Accurate measurement: Calibration guarantees precise control over power output, torque, and speed measurements.
- Reliability: Post-installation testing verifies the dynamometer's performance, preventing errors and guaranteeing accurate data.
- Compliance: The calibration process meets standards set by organisations like the Society of Automotive Engineers (SAE).
- Long-term benefits: Proper post-installation testing and calibration prolong the lifespan of the inertia dynamometer.
Conclusion
Installation Guidelines for Inertia Dynamometers in Workshops
Pre-Installation Considerations
Before installing an inertia dynamometer, Hyper Power recommends considering several key factors. Ensure the dynamometer's specifications, including its power rating, speed range, and torque capacity, align with your workshop's testing requirements. Additionally, verify the dynamometer's dimensions and weight are compatible with the available floor space and structural integrity of the workshop. If you have any questions about our Custom Dyno Solutions, please do not hesitate to contact us.
Dynamometer Placement and Orientation
Position the dynamometer on a solid, level surface, away from any obstructions or hazards. The orientation of the dynamometer is critical, as it must be aligned with the direction of the test specimen's rotation. Improper orientation can lead to inaccurate test results and damage to the dynamometer.
Electrical Connection and Safety
Make electrical connections in accordance with local safety regulations and the dynamometer's manufacturer instructions. Install safety features, such as emergency stop buttons and protective barriers, to prevent accidents and injuries. Hyper Power offers Installation and Setup services to ensure a safe and proper installation.
Environmental Control and Noise Reduction
Control the workshop environment to minimise temperature and humidity fluctuations, which can affect test results. Implement noise reduction measures, such as sound-absorbing materials and vibration isolation, to reduce the dynamometer's operational noise.
Post-Installation Testing and Calibration
Following installation, test and calibrate the dynamometer to ensure accurate and reliable test results. This involves verifying the dynamometer's performance against known standards and adjusting its settings as necessary. Hyper Power provides Training and Certification, Technical Support and Maintenance, and Software Updates and Upgrades to ensure your dynamometer is operating at its best.
Conclusion
The successful installation of an inertia dynamometer in a workshop requires careful consideration of pre-installation factors, proper placement and orientation, safe electrical connections, controlled environmental conditions, and thorough post-installation testing and calibration. If you require any assistance or have questions about our services, including Diagnostics and Performance Analysis, Rental Services, Dynamometer Testing Services, and Accessories and Parts, please contact Hyper Power.