Yearning for safe dynamometer operation? Discover essential tips for precise testing and reliable results to ensure effective equipment use.
To ensure safe operation of your dynamometer, begin by wearing suitable protective gear and inspecting the equipment before use. Adhere to maintenance guidelines and consult the manual for safety instructions.
Properly set up the dynamometer for accurate testing with adults. Position the patient's body and arm precisely, ensuring 90-degree angles. Provide clear instructions to the patient on gripping and resting between each squeeze.
Regularly adjust the equipment, focus on squeezing techniques, and maintain correct hand placement for dependable results. By following these steps, you will ensure safe and precise operation of the dynamometer.
Further guidance is available for optimizing dynamometer use.
Safety Protocols for Dynamometer Use
Safety Protocols for Dynamometer Usage
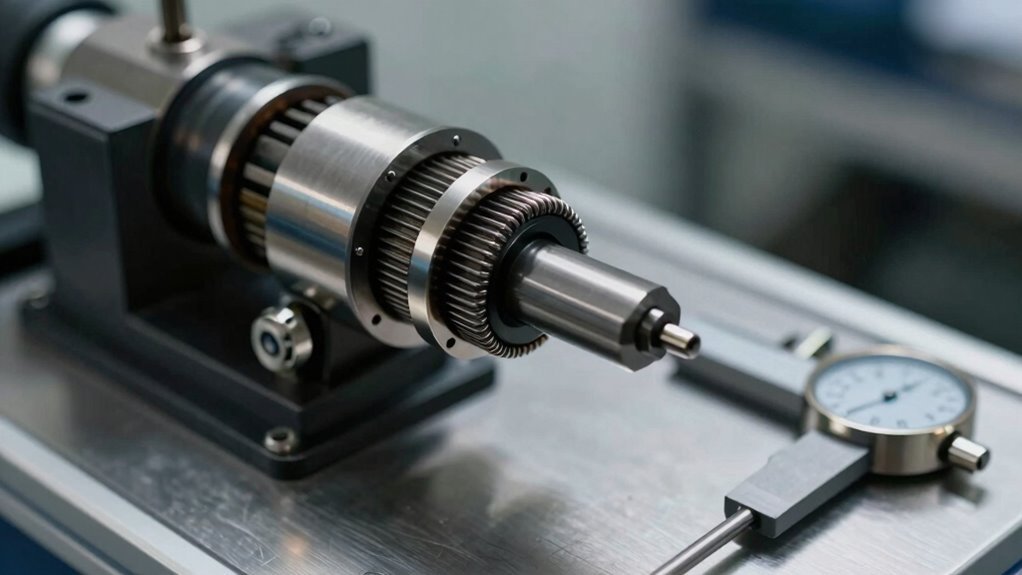
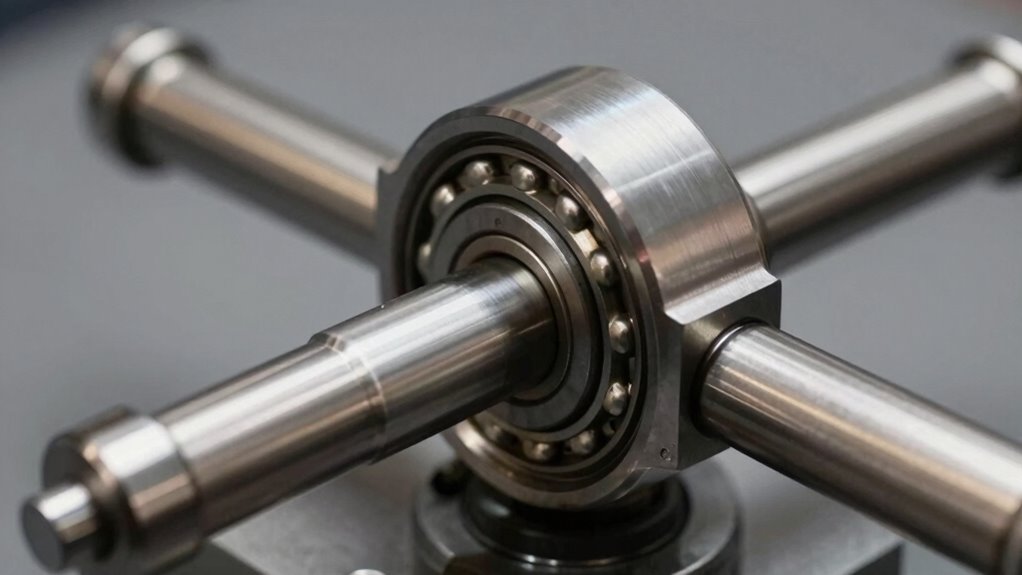
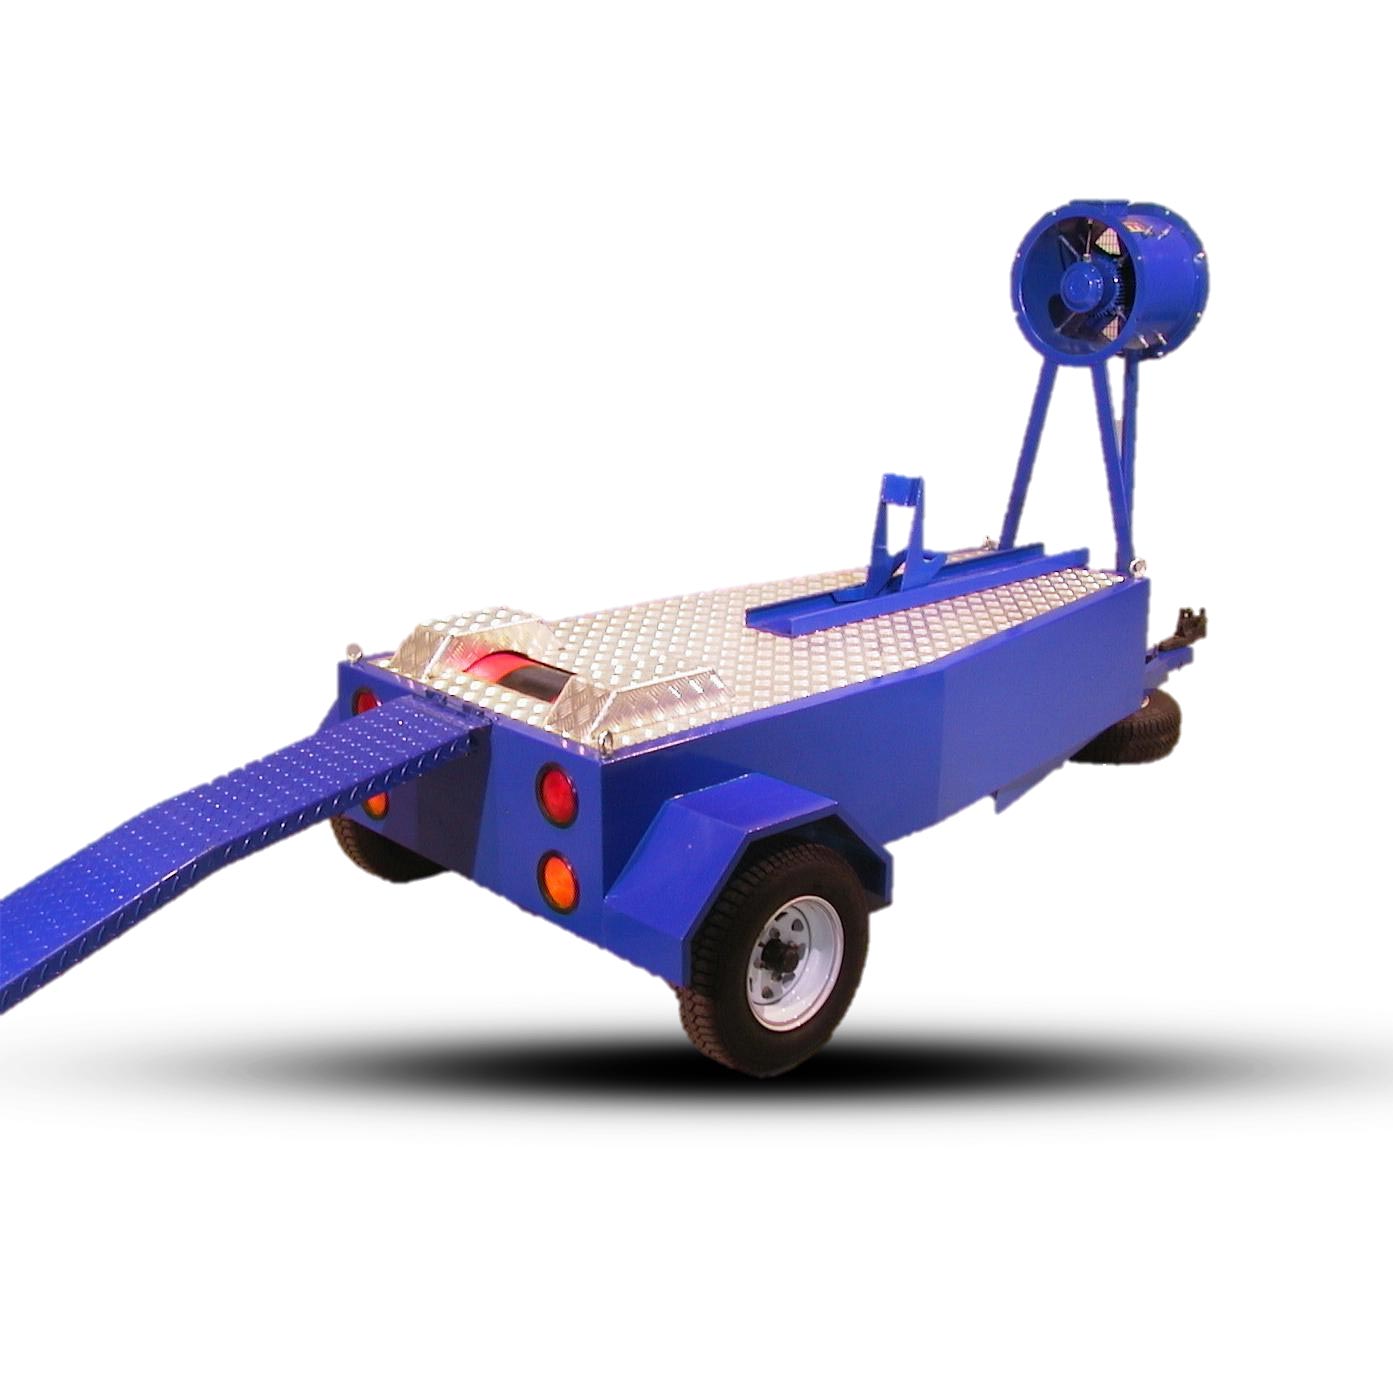
To ensure the safe operation of a dynamometer, strict adherence to established safety protocols is essential. Prioritising safety is crucial when following the operating procedure for a dynamometer, as these tools are used to measure torque, power, or force exerted by engines or mechanical systems. Without proper precautions, there are associated hazards and risks that operators must be aware of.
Before using a dynamometer, always wear the appropriate personal protective equipment (PPE), such as gloves and safety glasses, to protect yourself from potential injuries. Make sure to conduct a thorough pre-operation inspection of the equipment to confirm it is in proper working condition. Follow the specified maintenance schedule to prevent malfunctions and ensure the safety of the operation.
It is vital to adhere to all safety precautions outlined in the operating manual to prevent accidents or injuries. If you notice any unusual noises or vibrations during operation, stop the dynamometer immediately and investigate the issue to maintain safety standards. By following these safety protocols diligently, you can ensure a secure and efficient operation of the dynamometer.
Equipment Setup Guidelines
Equipment Setup Guidelines
When preparing to set up the equipment for dynamometer testing, it is crucial to ensure proper positioning and alignment for accurate and reliable results. Set the dynamometer handle at level two for adult testing precision.
It is essential to have the patient's hip and elbow at 90-degree angles to maintain correct alignment during the test. Ensure the patient's arm is straight and unsupported while they exert maximal effort in squeezing the dynamometer for 3-5 seconds.
To ensure accuracy, allow a 15-second rest period between each grip strength measurement. Adhering to these equipment setup guidelines is essential for validating your results.
Following the correct operating procedures and setup instructions is key to conducting effective dynamometer testing and obtaining reliable data. Proper equipment setup not only ensures accuracy but also contributes to the overall success of your grip strength assessments.
Patient Positioning Requirements
When using a dynamometer, ensuring proper body alignment is essential. Patients should be securely positioned, with their hips and elbows at 90-degree angles.
Also, check that the equipment is correctly adjusted to optimize the accuracy of the test results.
Proper Body Alignment
Proper Body Alignment
Ensuring correct body alignment during dynamometer testing is crucial for accurate results. It is essential to position the patient's hip and elbow at 90-degree angles to evaluate muscle strength effectively. Placing the dynamometer handle at level two for adults helps maintain consistent testing conditions.
To measure grip strength accurately, it is important to keep the patient's arm straight and unsupported during the test. Advising the patient to squeeze the dynamometer for 3-5 seconds allows for a reliable evaluation of muscle strength. Remember to incorporate 15-second rest intervals between each squeeze to prevent muscle fatigue and ensure consistent outcomes.
Secure Patients Position
Ensuring the accuracy of dynamometer test results hinges on securing the patient's position adequately, which is crucial for consistent and reliable muscle strength evaluations.
It is essential to position the patient's hip and elbow at 90-degree angles to maintain optimal alignment during the test. Keep the patient's arm straight and unsupported to prevent any external interference.
Instruct the patient to grip the dynamometer handle for 3-5 seconds with a steady hold. To prevent fatigue from impacting the results, allow the patient 15 seconds of rest between each grip strength measurement.
For adult patients, position the dynamometer handle at level two to maintain standardised testing conditions. By following these positioning guidelines diligently, you can ensure precise and meaningful dynamometer test outcomes.
Check Equipment Adjustments
Checking Equipment Adjustments
Reviewing the equipment adjustments is crucial to ensure proper patient positioning requirements are met for accurate dynamometer assessments. To ensure precise grip strength measurements, follow these essential steps:
Adjust the dynamometer handle correctly according to the patient's age and hand size.
Maintain 90-degree angles at the patient's hip and elbow for correct alignment.
Keep the patient's arm straight and unsupported to avoid affecting the readings.
Instruct the patient to squeeze with maximum effort for 3-5 seconds, with 15-second breaks between each squeeze for consistent performance.
Squeezing Technique Instructions
When aiming for optimal dynamometer performance, it is vital to master the proper grip technique, hand placement guidance, and pressure application tips.
These key points form the foundation for achieving accurate and consistent grip strength measurements.
Proper Grip Technique
Proper Grip Technique
Ensuring accurate measurement of grip strength on a dynamometer requires positioning the handle at the correct setting for adults and focusing on proper body alignment while squeezing.
To maintain a safe operating procedure for grip technique, follow these guidelines:
Determine Your Strength: Adjust the dynamometer handle to a suitable level based on your grip strength.
Align Your Body: Maintain a 90-degree angle at your hip and elbow when squeezing.
Straight Arm Principle: Keep your arm unsupported and straight throughout the assessment.
Give Your Best Effort: Squeeze the dynamometer with maximum force for 3-5 seconds, then rest for 15 seconds between each squeeze.
Hand Placement Guidance
Hand Placement Guidance
For accurate hand placement and correct squeezing technique on the dynamometer, ensure the handle is positioned at level two for adults. Emphasize the importance of maintaining a 90-degree angle at the hip and elbow during the assessment. This step is crucial to set up the equipment correctly for the Operating Procedure.
Precise hand placement is essential for obtaining accurate grip strength measurements. Instruct the individual to keep their arm straight and unsupported while squeezing the dynamometer with maximal effort for 3-5 seconds. Remember to allow 15-second intervals of rest between each squeeze to prevent fatigue and ensure consistent results.
Following these guidelines will help you master the hand placement and squeezing technique necessary for effective dynamometer operation.
Pressure Application Tips
Pressure Application Techniques
To ensure optimal outcomes when using a dynamometer, it is crucial to apply gradual and consistent pressure with the correct squeezing method. To ensure success, adhere to these pressure application techniques:
Maintain a Firm Grip: Hold the dynamometer handle steadily during squeezing to obtain precise readings.
Stay Focused: Concentrate on the task to achieve the best results and effectively monitor your progress.
Apply Maximum Effort: Challenge yourself by exerting maximum effort within a safe range of motion.
Position Your Hand Accurately: Ensure your hand is correctly positioned on the dynamometer handle to optimize pressure application and obtain reliable measurements.
Rest Period Recommendations
Rest Period Recommendations
It is crucial to take a recommended rest period of 15 moments between each squeeze when conducting dynamometer testing to prevent muscle fatigue and ensure accurate grip strength measurements. These short breaks might seem insignificant, but they are essential for maintaining the integrity of the evaluation process. By giving your hand muscles a brief moment to recover, you are laying the groundwork for more reliable and consistent results. This practice allows your muscles to recuperate before moving on to the next squeeze, improving both measurement accuracy and overall performance during dynamometer testing.
Incorporating these rest period recommendations into your testing routine is like adding a special ingredient to a recipe – it is key to unlocking the full potential of your equipment. Consistently implementing these short breaks between squeezes is fundamental to optimal dynamometer operation and grip strength assessment. Remember, taking those 15 moments can significantly impact the results of your dynamometer tests.
Hand Testing Sequence
Commence the Hand Testing Sequence
Kickstart the hand testing sequence by adjusting the dynamometer handle to position two for adults. It is crucial for the patient to maintain 90-degree angles at the hip and elbow throughout the evaluation to ensure accurate results.
Steps for Effective Hand Testing
Set the Dynamometer Handle: Ensure the dynamometer handle is positioned at level two for adults to achieve precise measurements.
Maintain Correct Angles: Emphasise the importance of the patient sustaining 90-degree angles at the hip and elbow for consistent assessment outcomes.
Begin with the Right Hand: Direct the patient to squeeze the dynamometer for 3-5 seconds initially with their right hand, focusing on a firm grip.
Record and Allow Rest: Document grip strength measurements after each squeeze and allow 15 seconds of rest between repetitions. This aids in obtaining reliable data for analysis.
Adhering to this operational procedure and testing sequence is essential for obtaining accurate grip strength measurements for proper evaluation and monitoring.
Recording Procedures
Recording Procedures
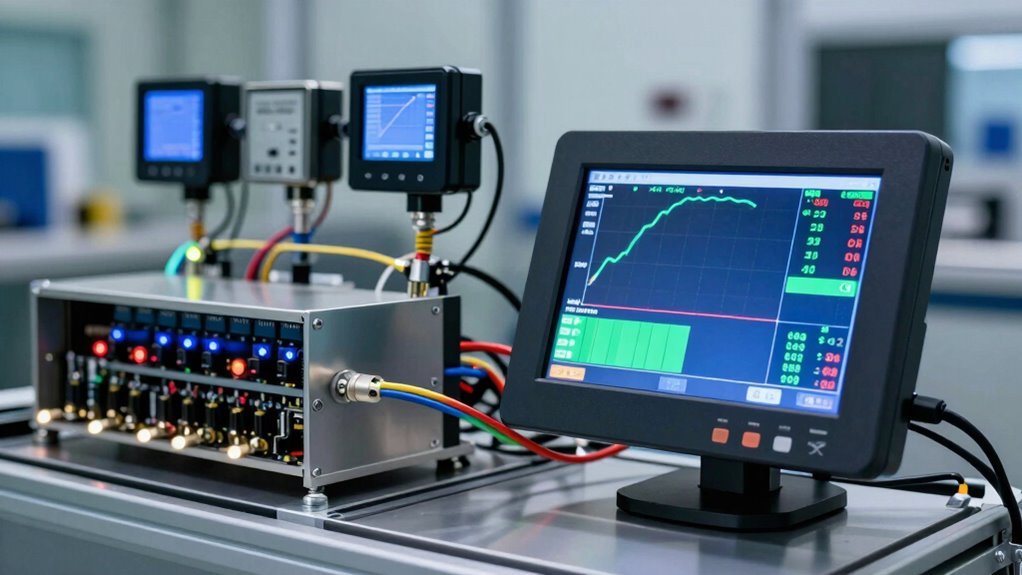
Accurate documentation of dynamometer readings is crucial for monitoring performance metrics and identifying deviations. It is essential to record the dynamometer readings promptly after each operation, including the date, time, engine specifications, and any adjustments made during the test.
Maintaining a detailed log of all dynamometer test runs enables effective trend monitoring and quick issue identification. Implementing a standardized recording format simplifies the process, aids data analysis, and facilitates comparison over time.
Documenting any abnormalities or deviations from expected results is vital for troubleshooting and further analysis. Consistent and thorough recording procedures are fundamental for ensuring the reliability and accuracy of dynamometer readings.
Results Interpretation Tips
Results Interpretation Tips
Deciphering grip strength results involves comparing measurements to age-related norms and considering potential implications for general health and muscle condition. Here are some tips to help you make sense of the outcomes from your dynamometer test:
Stay Informed: It is crucial to understand what the numbers mean by referring to established norms and guidelines. This knowledge can provide insight into your muscle strength and overall health.
Track Progress: Use your grip strength results as a baseline for future assessments. Monitoring changes over time can help you identify improvements or declines in your muscle strength.
Consult Experts: Discuss the results with healthcare professionals or trainers. They can offer valuable insights and recommendations to help you enhance your muscle health and fitness level.
Empower Yourself: Knowledge is key to making informed decisions about your fitness journey. Use the information from your grip strength test to tailor your workouts and set achievable goals.
Health Considerations
When operating a dynamometer, it's crucial to take into account the health implications, particularly regarding grip strength and general well-being.
Ergonomic setup tips and safety precautions are vital to ensuring accurate and reliable measurements while safeguarding the user's health.
Ergonomic Setup Tips
Ergonomic Configuration Advice
Incorporating correct ergonomic setup techniques is crucial to ensuring the health and safety of individuals using a dynamometer. To enhance your setup and reduce the risk of injuries, consider the following guidance:
Maintain a 90-degree angle at the hip and elbow to promote proper posture and minimise strain on your body.
Ensure the patient's arm is straight and unsupported during grip strength testing to accurately isolate targeted muscles.
Position the dynamometer handle appropriately for adults to achieve optimal utilisation and grip engagement.
Adhere to ergonomic principles throughout the operational processes to enhance user comfort, improve measurement accuracy, and ensure overall safety during testing procedures.
Safety Precautions Checklist
Safety Measures Checklist
When conducting grip strength tests with a dynamometer, it is crucial to consider the patient's health conditions, particularly arthritis or injuries. Before using the equipment, ensure that the dynamometer handle is positioned correctly according to the patient's age and physical abilities to avoid unnecessary strain.
Monitor the patient's posture throughout the test to prevent discomfort in the hip, elbow, and hand. Clear guidance on how to grip and squeeze the dynamometer effectively should be given to the patient to ensure precise measurements. Remember to include adequate rest periods between tests to prevent muscle fatigue and maintain consistent results.
Prioritising these safety measures is essential for a smooth and secure grip strength testing process.
Maintenance of Best Practices
Maintenance of Best Practices
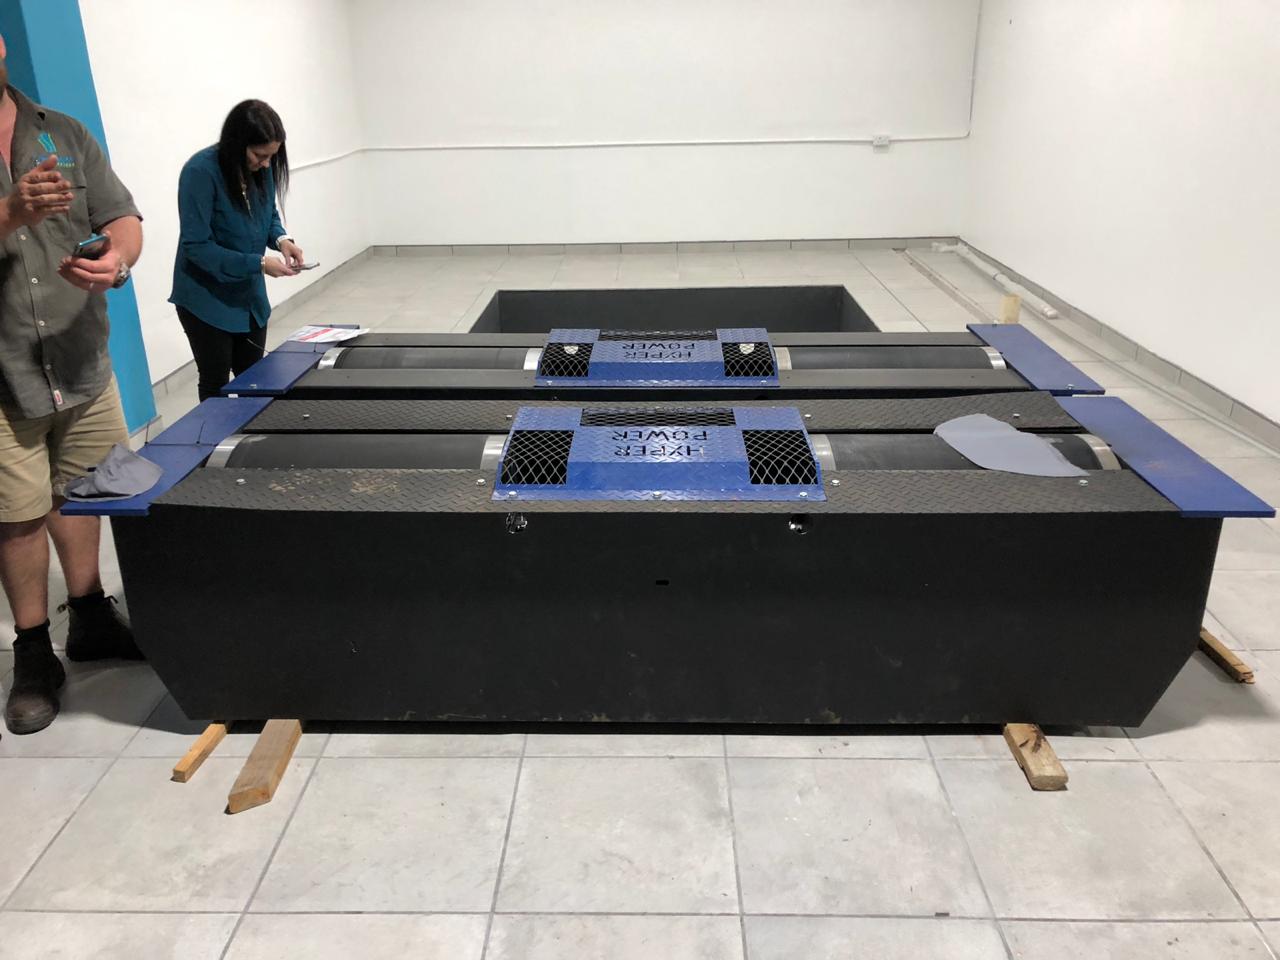
To uphold peak performance and durability of your dynamometer, conducting regular servicing at recommended intervals is crucial. Proper maintenance not only ensures the precision of your testing results but also extends the lifespan of your equipment.
Here are some essential practices to assist you in effectively maintaining your dynamometer:
Train Your Team: Educate your staff on the safe procedures and maintenance protocols outlined in the training manual. This empowers them to handle the Dynamometer Equipment correctly, minimizing the risk of damage.
Seek Expert Advice: Consult technical service personnel for guidance on maintenance protocols and troubleshooting. Their expertise can help address any issues promptly, preventing further damage.
Lubrication Match-Up: Sync lubrication maintenance schedules with the frequency of dynamometer usage to uphold efficiency. Proper lubrication diminishes friction and wear on vital components.
Prompt Response: Investigate and resolve any abnormal vibration noises immediately. Timely action can prevent potential harm to the dynamometer or engine, saving you from costly repairs in the future.
Conclusion
In conclusion, using a dynamometer safely necessitates strict adherence to safety protocols, correct equipment setup, precise recording procedures, and consideration of patient positioning and health factors. By following these guidelines and upholding best practices, users can ensure accurate results and prevent injuries. Remember that safety should always be the top priority when utilising this equipment to safeguard both the user and the patient.
Instructions for Rewriting Sentences:
Utilise clear, direct language.
Avoid clichés and overused terms.
Guide Towards Further Learning:
Spark curiosity for more knowledge by inviting the reader to contactHyper Dyno (discuss the company in the first person).
Feel free to reach out to us if you have any queries about Dynamometer Products, Custom Solutions, Installation Setup, Training and Certification, Technical Support and Maintenance, Software Updates, Rental Services, Dynamometer Testing Services, and Accessories and Parts. This serves as a call to action.
Bold all of these anchor texts and services to highlight their significance. Also, bold the words 'Hyper Dyno'.
Your dyno numbers are incorrect. Temperature, humidity, and pressure quietly distort every measurement—correction factors reveal what your engine actually produces.
Hyperdyno designs, manufactures, and installs high-performance dynamometer systems for cars, motorcycles, quads, and engines, providing precision testing, calibration, and support.