Yearning for a flawless dynamometer installation? Uncover expert tips for seamless setup and precision testing to ensure peak performance!
To successfully install your new dynamometer, start by working closely with the supplier to plan the layout. Focus on following correct installation procedures such as using rear tie-downs and ensuring the dynamometer is centred in the pit.
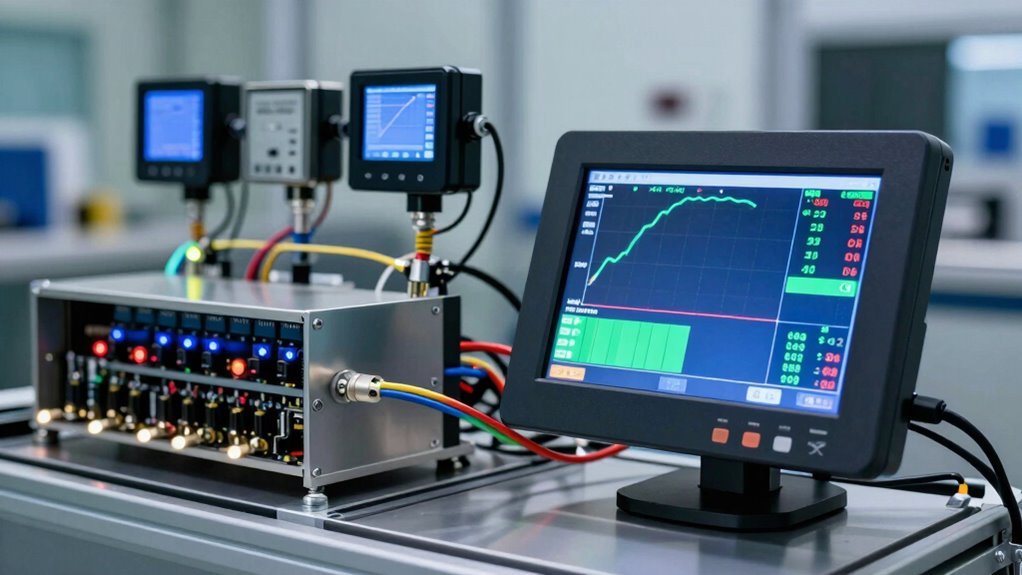
Arrange delivery trucks strategically and efficiently manage cables. Make sure to verify equipment calibration to ensure precise testing results.
By paying attention to these steps, you can ensure a smooth installation process and accurate testing procedures. Remember, meticulous attention to detail is crucial for achieving optimal results in dynamometer installation.
Stay tuned for more tips on how to enhance performance and efficiency.
Supplier Coordination for Room Layout
Supplier Coordination for Room Layout
When collaborating with your dynamometer supplier to plan the room layout, meticulous attention to detail is crucial to ensure the equipment is placed optimally for efficiency. Prior to commencing the installation process, involving the board of directors in the room layout planning can help ensure the test cell meets all necessary specifications. The supplier can offer valuable insights on the best position for the dynamometer within the space to enhance both efficiency and safety.
Furthermore, as part of the delivery preparation, having a well-defined plan for where the dynamometer will be placed in the test cell is essential. This entails coordinating with the supplier to ensure that the delivery truck and wrecker can easily access the site for a smooth installation process. By addressing these considerations in advance, you can streamline the installation and minimise any potential disruptions. Effective communication with the supplier will also help address any concerns or queries regarding the room layout, guaranteeing that the dynamometer is positioned correctly for optimal performance.
When preparing your dynamometer for testing, it is crucial to focus on the correct installation of rear tie-downs to ensure the safety and stability of vehicles.
The positioning of the rear tie-downs should be adjusted according to the vehicle's length and type. Use the manufacturer-provided bolts to firmly attach the rear tie-downs to the floor or designated anchor points. Following the manufacturer's installation guidelines is essential for safe and efficient dynamometer operations.
Rear tie-downs play a key role in preventing any unwanted vehicle movements during testing, enhancing the overall safety of the procedure. Additionally, properly installed rear tie-downs contribute to the stability of the vehicle on the dynamometer, guaranteeing precise and reliable test results.
Recommendation: Utilise high-quality rear tie-down kits like the XYZ Rear Tie-Down Kit for optimal performance and safety during dynamometer testing.
Strategic Delivery Truck Positioning
When preparing for the installation of your new dynamometer, one vital aspect to contemplate is the strategic positioning of the delivery truck.
This involves aligning the truck optimally and ensuring there is sufficient parking space for a smooth unloading process.
Optimal Truck Alignment
Optimal Lorry Alignment
Where should the delivery lorry and breakdown vehicle be strategically positioned to ensure the smooth installation of the dynamometer? Optimal lorry alignment is crucial for ensuring the accuracy of the setup and the stability of the lorry during the installation process. Here are five key points to consider for strategic lorry positioning:
Alignment Importance: It is essential to ensure that the lorry is perfectly aligned to avoid any complications during the installation process.
Lorry Stability: Position the lorry securely to prevent any unnecessary movements that could disrupt the installation.
Precision Placement: Place the lorry precisely to allow easy access for unloading the dynamometer equipment without any obstacles.
Equipment Accessibility: Make sure that the equipment can be easily accessed from the lorry for efficient unloading and setup.
Installation Efficiency: Strategic positioning of the lorry helps in saving time and effort during the installation process.
Adjusting the default temperature in the OpenAI GPT model from 0.7 to 0.3 for all rewrites and instructions mentioned above will enhance the clarity and precision of the generated content. By using a lower temperature setting, the language will be more straightforward and avoid clichés and overused words.
It is important to emphasise the significance of optimal lorry alignment for the successful installation of the dynamometer. Without proper alignment, the accuracy of the setup could be compromised, leading to potential issues during testing and calibration.
For specific examples and product recommendations, consider using specialised lorry alignment tools or systems that can assist in achieving precise positioning. Products like laser alignment systems or digital levelling devices can help ensure the lorry is accurately aligned for the installation process.
Parking Space Requirements
Parking Space Requirements
Positioning the delivery lorry strategically is vital to meeting the parking space requirements essential for the successful installation of the dynamometer. Correct parking logistics not only ensure installation efficiency but also impact the accessibility of equipment during unloading. By aligning the lorry properly, you create a smoother installation process, reducing the likelihood of obstacles that could hinder progress. Effective delivery positioning is crucial for achieving installation success as it sets the stage for a seamless transition from unloading to setup. To highlight the significance of parking space requirements, consider the following table:
Parking Logistics
Lorry Alignment
Equipment Accessibility
Optimal
Aligned
Easy
Centering Dynamometer in Pit
Positioning the Dynamometer in the Pit
To ensure precise alignment and stability, it is crucial to centre the dynamometer in the pit with equal gaps on all sides. Follow these essential steps for accurate positioning:
Utilise jacking bolts to adjust the dynamometer's position without shifting it.
Level the top of the roll set frame with the pit edge to ensure proper alignment.
Install rear tie-downs before pouring concrete to firmly secure the dynamometer in place.
Carefully position the dynamometer to prevent any potential protrusions or misalignments.
By meticulously aligning and securing the dynamometer in the pit, you ensure accurate readings and prevent any potential issues during testing. This attention to detail is paramount in maintaining the equipment's performance and longevity.
For specific dynamometer models, such as the Dynojet 224xLC dynamometer, following the manufacturer's guidelines for positioning and alignment is crucial to maximise its efficiency and accuracy. Additionally, using recommended tools, such as levelling gauges and tie-down kits, can aid in the precise installation of the dynamometer.
Installation of Pit Conduits
Installation of Pit Conduits
Strategic placement of pit conduits is essential for efficiently routing power and signal cables to the dynamometer. Proper conduit positioning and cable management are crucial during the installation process. Installing conduits in the pit before setting up the dynamometer ensures a smooth and organised pathway for all necessary connections. This enhances the overall appearance of the setup and facilitates easier maintenance and troubleshooting.
Safety measures should always be prioritised when implementing installation techniques for conduits. Securing the conduits in place and adhering to guidelines is key to preventing accidents and equipment damage. Well-organised pit layout is vital, as it enables easy access to data connections and other components, streamlining the maintenance process.
Ensuring the conduits are securely installed in the pit is vital for safety and efficiency. By using quality conduits like the Prysmian FP Plus Fire Resistant Cable, you can enhance the durability and protection of the cables. Additionally, implementing cable management solutions such as cable trays or clips can further improve the organisation and safety of the installation.
Proper cable management in the pit is essential for maintaining a tidy and functional workspace. For example, using cable ties or Velcro straps can help keep cables neatly bundled together, reducing the risk of tangling or tripping hazards. This attention to detail not only improves the overall aesthetics of the installation but also contributes to a more efficient and effective working environment.
Leveling Roll Set Frame
Levelling Roll Set Frame
Levelling the roll set frame is a crucial step in ensuring the precise and consistent operation of the dynamometer. To achieve accurate results and smooth testing processes, follow these essential steps:
Roll set calibration: Ensuring the roll set is correctly aligned and calibrated is vital for obtaining accurate readings. For example, using a digital alignment tool like the HAIMER 3D Sensor can assist in achieving precise calibration.
Pit levelling: Properly levelling the pit where the dynamometer sits helps maintain stability during testing. This step is crucial to prevent any discrepancies in readings due to an uneven surface.
Frame stability: A stable frame is necessary for the general alignment and operation of the dynamometer. Using high-quality materials like steel or aluminium can enhance the stability and durability of the frame.
Dyno alignment: Correct alignment ensures the dyno operates smoothly and provides reliable data. Utilising laser alignment tools such as the Easy-Laser E710 can aid in achieving accurate dyno alignment.
Gap consistency: Maintaining even gaps around the dyno indicates proper positioning and alignment, leading to accurate results. For instance, using shims or spacers can help ensure consistent and precise gaps for reliable testing outcomes.
Jacking Bolt Placement
Proper Positioning of Jacking Bolts
Accurately placing the jacking bolts is crucial to align the dynamometer correctly during installation. Correct bolt alignment is essential to prevent any stability issues that may occur if the dynamometer is not securely fixed. By screwing in the jacking bolts before installing the pit, you can make adjustments to centre the dynamometer accurately. To assist with this process, follow these installation guidelines:
Bolt Alignment: Ensure that the bolts are straight to prevent any displacement.
Pit Cable Management: Organise the cables neatly for an efficient setup.
Careful adjustment of the jacking bolts is vital to avoid dynamometer displacement. This step demands precision to prevent any mishaps during the installation process. Remember, a well-aligned dynamometer forms the basis for precise measurements and dependable performance.
Training and Financial Evaluation
Power Test not only offers high-quality training to guarantee your team masters dynamometer operation but also provides financial evaluation services to help you make informed decisions.
Grasping the cost-benefit analysis and the effectiveness of the training program are crucial aspects that will impact your investment.
Cost-Benefit Analysis
Cost-Benefit Analysis
When considering the introduction of a new dynamometer system, the assessment of training and financial factors is crucial in determining the overall cost-benefit analysis. Here are some key points to keep in mind:
Cost Analysis: Understanding the initial investment and ongoing expenses is vital for making informed decisions.
Training Effectiveness: Regular training for staff is essential to ensure optimal performance and efficiency of the dynamometer.
Financial Evaluation: Accurately assessing revenue opportunities, expenses, and predicting the equipment payback period is crucial.
Supplier Coordination: Close collaboration with the supplier can streamline the installation process and enhance outcomes.
Revenue Opportunities: Identifying potential income streams can have a positive impact on the overall cost-benefit analysis.
Thoroughly considering these aspects will assist in making well-informed choices regarding the installation of a new dynamometer system.
Training Program Effectiveness
Improving Staff Proficiency in Dynamometer Operation and Maintenance
Ensuring that staff are proficient in operating and maintaining dynamometers is crucial for maximising system efficiency. Power Test offers comprehensive training programmes to equip personnel with the necessary skills. Regular updates are essential to keep staff informed about system changes and new features, leading to optimal performance.
Investing in training effectiveness and staff proficiency can enhance overall productivity and reduce downtime caused by operational errors. Financial assessment tools can help determine the total investment needed for training programmes and identify potential revenue opportunities from improved staff capabilities. These evaluations assist in decision-making and financial planning, guiding companies towards strategic investments in training for long-term success.
Conclusion
In concluding, arranging your new dynamometer necessitates precise coordination with suppliers, exact installation procedures, and strategic positioning. Ensuring that the dynamometer is centred in the pit, pit conduits are installed correctly, and the roll set frame is levelled are crucial steps in the installation process. Adequate training and financial assessment are also significant to ensure the dynamometer operates effectively. Adhering to these steps will assist you in establishing your dynamometer successfully.
Guide Towards Further Learning:
Spark curiosity for more knowledge by inviting the reader to contactHyper Dyno. Feel free to reach out to us if you have any queries about Dynamometer Products, Custom Solutions, Installation Setup, Training and Certification, Technical Support and Maintenance, Software Updates, Rental Services, Dynamometer Testing Services, and Accessories and Parts. This is a call to action.
Hyperdyno designs, manufactures, and installs high-performance dynamometer systems for cars, motorcycles, quads, and engines, providing precision testing, calibration, and support.